
Creating High School Schedules
|
Front Office
This video provides a step-by-step guide on how to create high school sports schedules using the Just Play Basketball platform's custom events feature.
Key steps for creating a schedule:
Navigate to the Front Office: Go to the events section and click Add Event (0:10-0:16).
Select Schedule Type: Choose between a Game Schedule or a Generic Schedule (0:22-0:35).
Configuration: Name the schedule (e.g., school name and year), select the season, and define the time zone (0:39-0:49).
Adding games to your schedule:
Manual Entry: Use the Add Games modal to input games one by one (1:01-1:13).
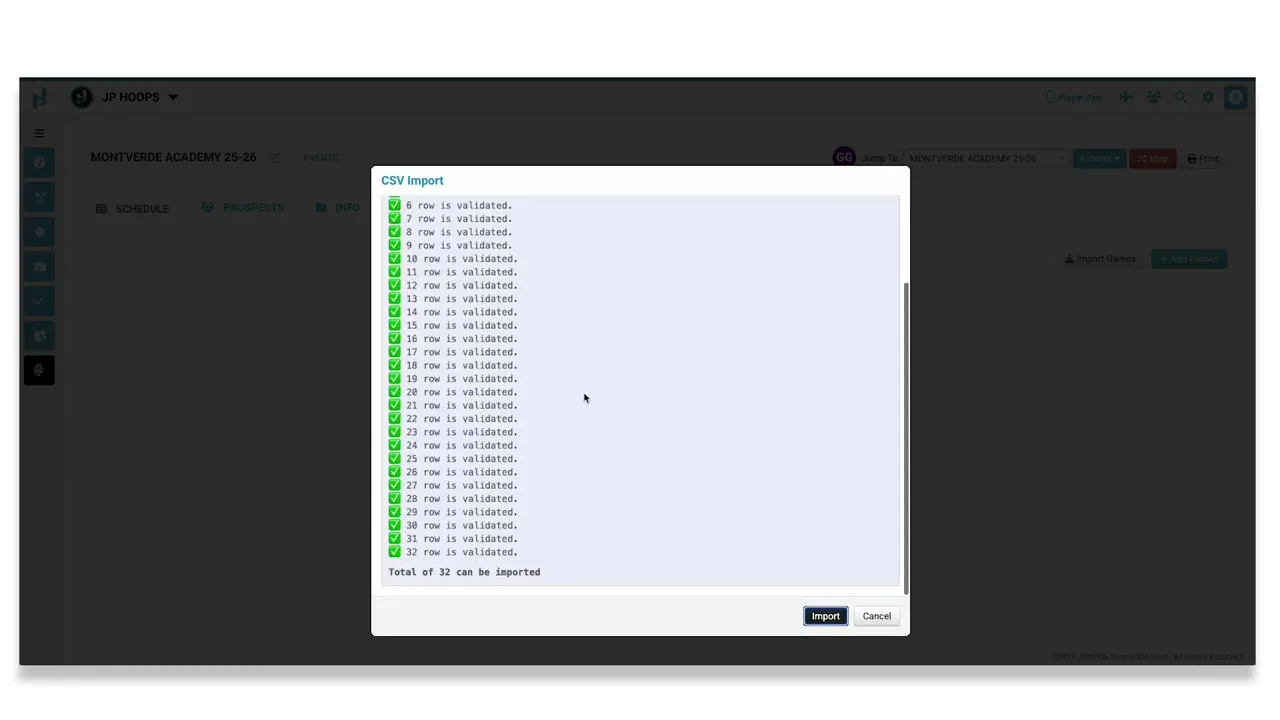
Bulk Import: Download the provided Google Sheet template, fill it out according to the column headers, and upload it as a CSV file (1:17-2:55).
Editing: Once imported, you can use the pencil icon to perform inline edits if details (such as TBD items) change over time (3:31-3:44).
Advanced Features:
Prospect Mapping: Similar to certified events, you can assign games and map prospects to specific teams within the dashboard to track activity efficiently (4:12-4:43).


