
How to Diagram a Pick and Roll
|
Play Drawing
This video provides a step-by-step tutorial on how to diagram a pick and roll play using the Just Play lacrosse coaching software. The process is broken down into the following key stages:
Initial Setup (0:00 - 0:51): After creating a new play and organizing it with tags, you select a starter diagram from the canvas library. You can customize the positioning of players by dragging and dropping them or deleting them as needed.
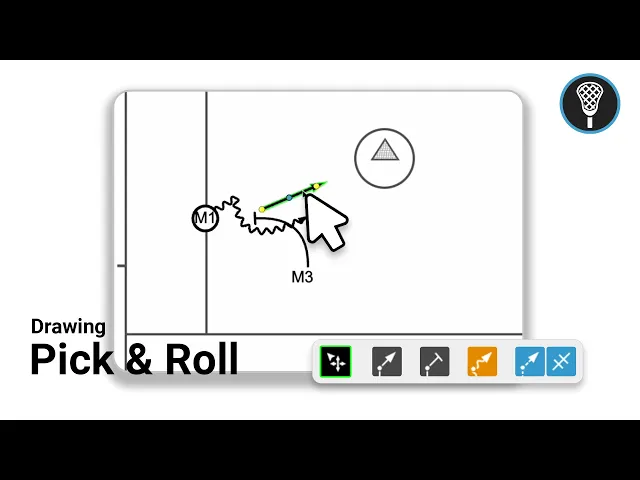
Drawing the Pick (0:52 - 1:57): First, assign the ball to a player (M1) by double-clicking them and checking the has ball option. Then, use the pick tool to draw a curved line representing the player setting the pick (M3), ensuring you hover to create a shadow for proper animation.
Executing the Dodge and Roll (1:58 - 3:38): Use the dodge line tool to draw a multi-point line for the ball carrier (M1) to move off the pick. Afterward, select the player movement tool to draw a curved path for the roller (M3). You can enable enlarged arrows in the design properties for better visibility.
Final Touches and Animation (3:39 - 4:55): Add a blue dotted passing line to connect the dodge to the roll. You can preview the animation, adjust the speed, add frame notes using the pencil icon, and save the play once finished.


