
Drawing with Free Hand Mode
|
Play Drawing
This video serves as a tutorial for using the Just Play Lacrosse drawing tool to create and diagram plays. The presenter demonstrates how to set up a new play, configure the canvas, and use the Freehand Mode to illustrate player movements and actions.
Getting Started: After naming your play and defining play details, navigate to the Diagrams tab to select a starting template, such as Attack Area 6 on 0 (0:23-0:42).
Canvas Customization: Use Design Properties to adjust the field view, such as switching between attack or defensive areas (0:49-0:58).
Managing Players:
Click, drag, and drop to move players on the canvas (1:17-1:21).
Manage ball possession by clicking a player and checking the has ball box in the pop-up menu (1:24-1:42).
Edit text boxes to customize player names, numbers, or initials (1:45-1:57).
Drawing Tools & Animation:
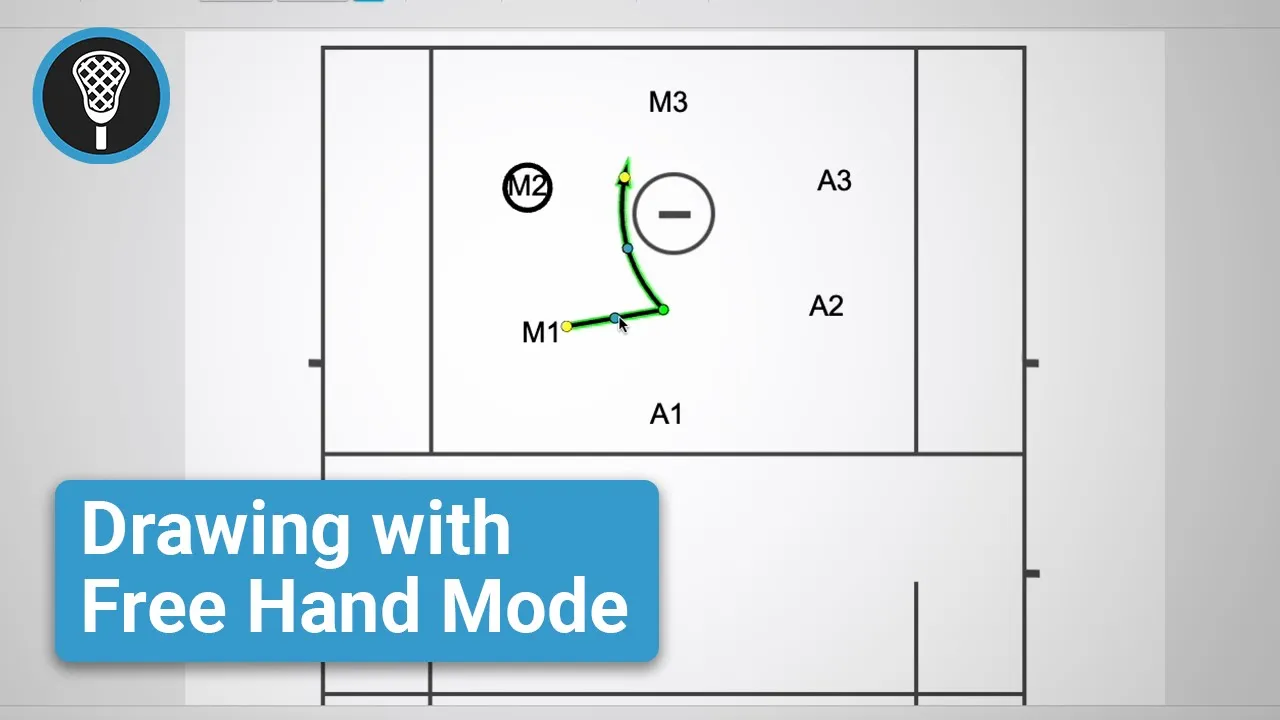
Select tools from the bottom menu to indicate movements like cuts, picks, dodges, and passes (1:58-2:18).
Important: Always connect your drawing line to the player's shadow to ensure proper animation timing (2:28-2:40).
Avoid drawing lines through players to maintain a clean diagram (2:50-2:54).
Adjust lines after drawing using the yellow and blue dots to curve or manipulate the path (3:09-3:22).
Multi-point Lines: Create complex movements by holding the mouse click while dragging to create distinct points along a line (3:23-3:52).


